
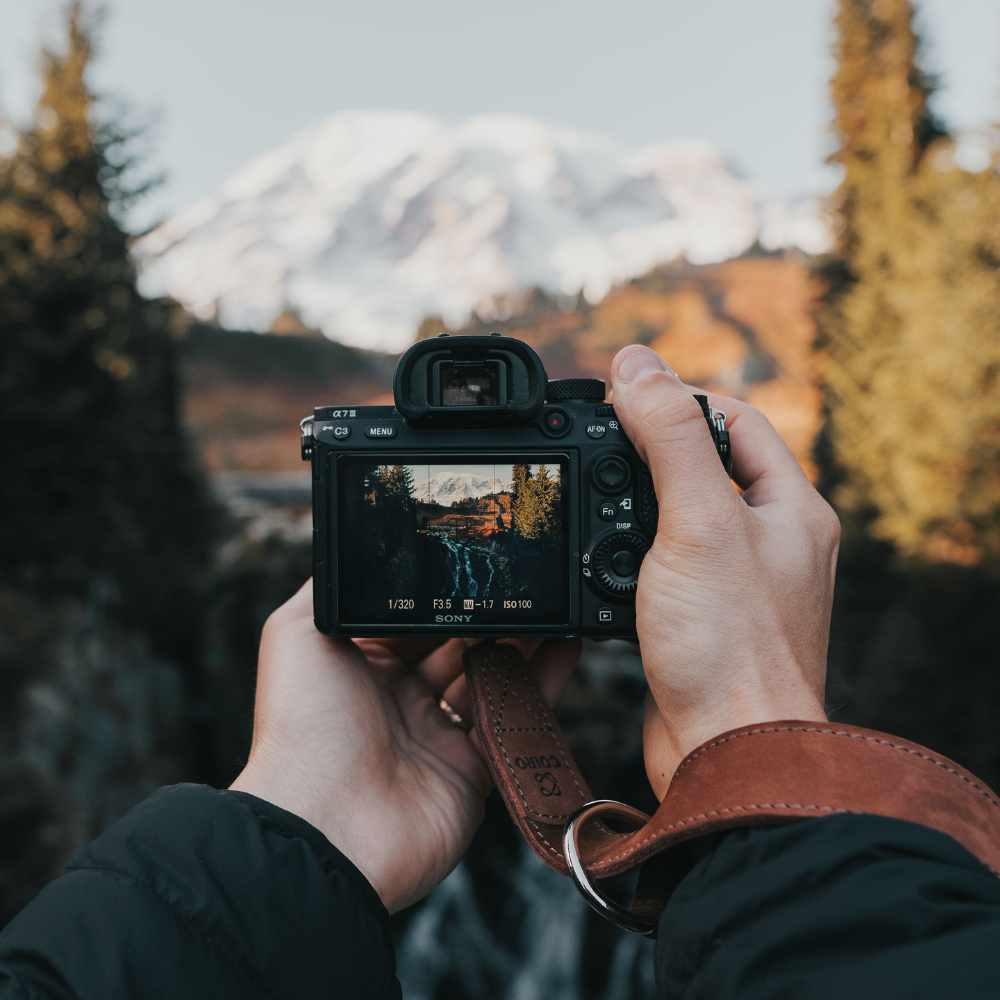


If you've ever tried shooting outdoors at different times of the day, you've probably noticed one interesting detail. Lighting is almost everything in outdoor photography. The theme of composition, choice of lens or location is important, of course. It is thanks to these moments that you can create the mood and theme of the final image. But it is the light that can turn even the most ordinary shot into an artistic one. It's like spices in a dish - just a little too much, and everything is ruined. But if you don't add enough, it turns out bland and tasteless. Above all, balance is important.
When it comes to street photography, there is a double challenge. The light is constantly changing, and you cannot control it the way you can in a studio. But that's the whole magic of the genre. Street light is alive, natural, unpredictable. It can emphasize the texture of an old wall, snatch a face from a crowd, play on the reflections of asphalt after rain. You just need to learn to see it and use it for your own purposes, namely, to create masterpieces.
Golden and blue hour: a photographer's best friends
You've probably heard of the so-called golden hour. If not, in short, it's the time shortly after sunrise and shortly before sunset. The sun is low at this time, the light is soft, warm and "enveloping". Shadows become long, and contours are more expressive. With this outdoor lighting for photography, people in portraits look better, and cityscapes are much more romantic.
A little less known is the blue hour, but this does not make it less exciting. This is the very moment before sunrise or after sunset, when the sky is painted a deep blue. The light at this time is very diffused, almost magical. The street lights have already come on, but the sky is still light. This is the best lighting for outdoor photography if you want to create atmospheric, almost cinematic shots. Believe me, it is enough to try it once, and you will appreciate this trick.
If you are just starting to master street photography, try shooting during these periods at first. Just arrive early, choose the angle you want and wait. You can be sure that the light will do everything for you.
Cloudiness is not an enemy, but a helper
Many beginners mistakenly believe that good lighting is necessarily about the sun. In fact, a cloudy day opens up many opportunities for a photographer. Clouds act as a giant softbox, diffusing hard light. Therefore, this is one of the best lighting for outdoor photography, as it results in even lighting without harsh shadows and overexposure. Such weather is ideal for portraits, especially if you do not have an external flash or reflector. Cloudy days are also good for shooting textures, old buildings, street fashion. Why? The reason is that in this case the light falls evenly and does not obscure small details.
Light and shadows — do not be afraid of contrasts
One of the most expressive techniques in street photography is working with shadows. Often, even experienced photographers, not to mention beginners, avoid contrasting light. This is explained by the fear of “overexposing” or “failing” details. But it is in contrast that drama is born.
Try to track how the light falls on the walls, pavements, and faces of passers-by on a regular sunny day. Pay attention to shop windows, cracks between buildings, arches. These are the places that often create an interesting play of light and shadow. By placing the subject on the border between them, you can get a very expressive shot. One simple technique will help you. Walk down the street and watch your own silhouette. Where your shadow becomes clearer and longer, there is exactly the place where the best lighting for outdoor photography is.
Reflexes and reflections are hidden sources of light
Street photography is full of surprises, you can never guess what the result will be. Sometimes the best lighting for outdoor photography can be found not in the sky, but... just under your feet. After heavy rain, puddles become a kind of mirror, reflecting neon signs, lanterns, cars. You must admit, the effect is amazing. Using reflections, you can create a feeling of double light, both from above and from below.
When setting up outdoor photography, also pay attention to shop windows, car windows, metal surfaces. Do not doubt, all this can play the role of an additional light source or a spectacular reflection. Sometimes it is quite enough to simply change the shooting angle so that the light "slides" along the glass and gives a soft backlight to the object. This is, without a doubt, one of the best lighting for outdoor photography.
Look for shady areas on a bright day
When the sun is at its zenith, the light becomes hard, the shadows are sharper, and the contrast is maximum. It is at this time that it is better to avoid direct sunlight in the frame, especially if you are going to shoot people. The ideal option in this case is to hide in the shadows of buildings, under awnings, in arches. Thanks to this, the shots will be much clearer and more contrasty.
But there is a nuance, when setting up an outdoor photo in this case, the shadow should not be “black”. If the building reflects part of the sunlight, the shadow is softer, with diffused side lighting. This is exactly what you need to create a portrait or a scene with details. A life hack that is quite simple at first glance can help you. Stand in the shadows and see if your face is illuminated from the side by reflected light. If so, you have found a really suitable place.
Don't forget about backgrounds, because light works with them too
Sometimes we are so focused on the subject that we forget about backgrounds. But they also “catch” light. A smooth wall can turn into a luminous panel if a direct ray of sunlight falls on it. Brickwork will begin to play with volume if you illuminate it from the side. That is why it is better to look for backgrounds that “live” with the light, that is, fences with gaps, grates, tree leaves. Through them, you can get interesting patterns on the background or even on the model's body. The result is not just a unique, but a stunning effect.
Use artificial street light
Many people forget that street light is not only the sun. The city is full of other sources. It can be anything — lanterns, signs, car headlights, shop windows. They look especially expressive at night or in the twilight.
For example, a night scene where a model stands next to a shop window illuminated by neon can literally look like a still from a movie. Warm street lights can be used to create a retro mood, and cold white diodes — for a more "urban", industrial shot. In this case, regardless of what kind of mood you plan to convey with the help of photography, lanterns will help you. In addition, do not be afraid to use autofocus and high ISO, because modern cameras do an excellent job of night shooting, especially in RAW format.
A little about the flash — a helper or a pest?
Many street photographers do not use flash on principle, but look for better lighting for outdoor photography. And this is understandable, since harsh direct light can ruin the atmosphere. But if you approach the matter subtly, an external flash with a diffuser can be a great helper.
For example, if you need to illuminate the model's face in the evening city, you can use a reflected flash. To do this, point it at the wall or ceiling, for example, if you are in an underground passage or arch. The result will be soft, natural light that does not stand out from the overall picture.
Light color — warm, cold and mixed
Different light sources give completely different temperatures. The morning and evening sun is warmer, shop windows and neon are cold. This can be used as an artistic technique.
Sometimes, in some cases, contrast looks good. For example, the face is illuminated by a warm lamp, and the background is illuminated by cold city light. In other cases, the photographer should still even out the temperature of the light in post-processing, especially if one of the sources used is very out of whack. Shooting in RAW helps to preserve significantly more detail and flexibility when editing the white balance.
Learn to predict the light
The more you shoot, the better you begin to feel at the level of internal sensations where there will be good light. It's like intuition. But it can be trained, like muscles in the gym. Regularly pay attention to how shadows fall on sidewalks, how windows are lit at midday, which places are illuminated by reflected light.
A rather useful habit will be to regularly walk around the location without using a camera before shooting. Just look at how the light changes over the course of an hour. This helps not only in technical matters, but also creatively. Thanks to this, you gradually begin to notice subjects that previously simply escaped your attention.
Why does a photographer need accessories?
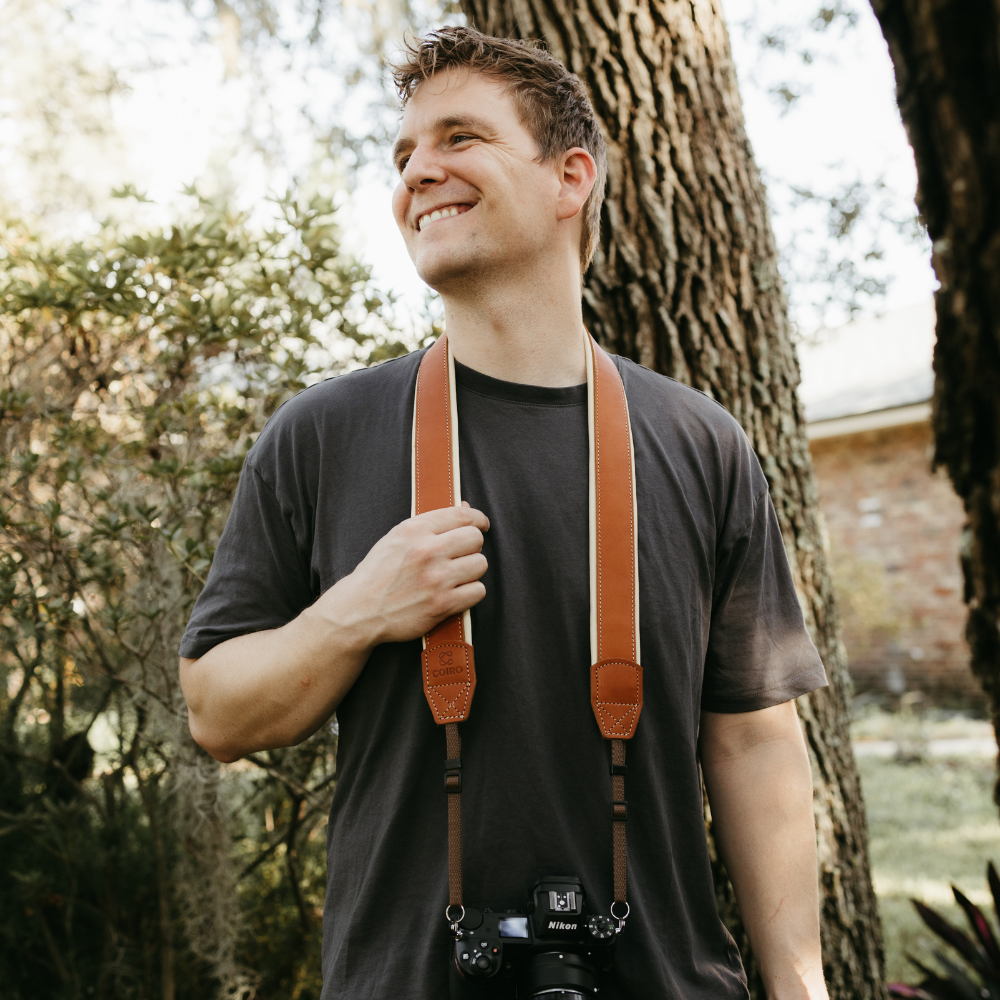
Lighting is the soul of photography, but don’t underestimate the material side of the issue. Even with perfect light and a great idea, shooting can go wrong because you are not technically prepared. That is why accessories are so important. It’s not just about tripods or reflectors. Even such seemingly simple things as a camera strap or a comfortable camera bag can radically change your shooting process.
Let’s start with the strap. Many beginners often use the standard strap that comes with the camera. But it is not always comfortable, especially if you are shooting for several hours in a row. A good professional strap evenly distributes the weight of the camera, due to which it does not rub your neck at all and allows you to quickly switch between positions. This is especially important for street photography, where you need to be not only talented, but also flexible and ready to capture moments. Shoulder, tactical or chest straps not only give the photographer freedom and at the same time reduce fatigue. It is also worth noting another indispensable accessory, such as a bag. A convenient camera bag or backpack with compartments for lenses, filters, batteries and even a laptop allows you to keep everything you need at hand. If you are shooting outdoors, you should be prepared for any situation, for example, to change a lens, get a spare battery or cover the camera from the rain. And at the same time, you can avoid unnecessary fuss and unnecessary movements. The less time you have to spend looking for the right thing, the greater the chances of catching “that very” shot.
Don't forget about additional accessories, such as filters, spare memory cards, cleaning wipes and protective covers from bad weather. They may seem like trifles to many, but they often save the shoot. For example, you may encounter an excess of light at midday. In this case, you cannot do without an ND filter. Or imagine a situation when you caught a stunning evening shot, but the memory card suddenly becomes full. A spare card will be a real lifesaver. Using professional accessories is not a question of status, but an effective tool for increasing your comfort, mobility and the quality of the result. They allow you to focus on the main thing, namely composition, light and the moment, and not on where to put the lens or how to hold the camera for a few more minutes.
Let's sum it up
Street photography requires constant work with light. It does not obey you, but if you learn to feel it, you can get the most effective photos. At the same time, photographers do not need expensive equipment if they learn to see how the light falls on the surface, how it refracts, how it creates volume. It is also important to note that you should never be afraid of mistakes. Sometimes bad light can also lead to an interesting shot. In photography, as in life, it is far from always perfect, but at the same time honest and lively.